Difference between revisions of "SimpleBot Shield Assembly"
(→LDR & Range Sensor Header) |
(→All Done) |
||
| Line 98: | Line 98: | ||
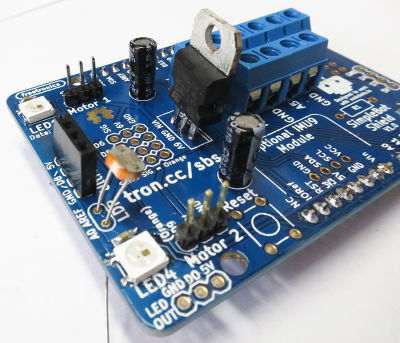
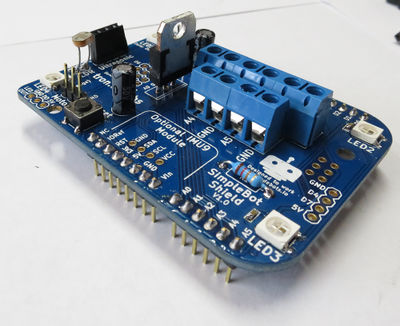
All done! As a final check, look over the shield for any solder bridges and also double-check the polarity of the regulator and the electrolytic capacitors matches what is shown: | All done! As a final check, look over the shield for any solder bridges and also double-check the polarity of the regulator and the electrolytic capacitors matches what is shown: | ||
| − | [[File:SimpleBot shield assembled|400px]] | + | [[File:SimpleBot shield assembled.jpg|400px]] |
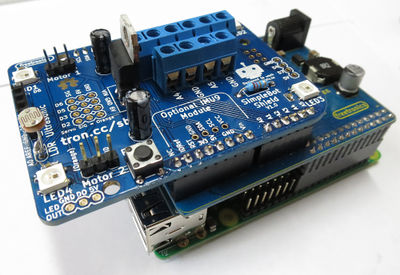
Here's a photo showing how the SimpleBot shield mounts onto the PiLeven: | Here's a photo showing how the SimpleBot shield mounts onto the PiLeven: | ||
| − | [[File:SimpleBot shield mounted|400px]] | + | [[File:SimpleBot shield mounted.jpg|400px]] |
Next step, you can move on to [[SimpleBot Chassis Assembly]]. | Next step, you can move on to [[SimpleBot Chassis Assembly]]. | ||
Revision as of 03:12, 22 December 2014
Contents
SimpleBot Shield Assembly
The SimpleBot shield has a small number of through-hole components that need to be soldered on:
- 5x Screw terminal headers
- Male pin headers for Arduino shield mounting and hobby servo "motor" connections.
- 4 pin female header for Ultrasonic Range Sensor (hacked up piece of a longer header shown, but the actual parts should be made to size).
- 2x Electrolytic capacitors for the VIN & 6V power rails.
- LDR & resistor for ambient light sensing.
- 6V linear regulator for servo power supply (most hobby servos run much better at 6V than at 5V).
Soldering Arduino Headers
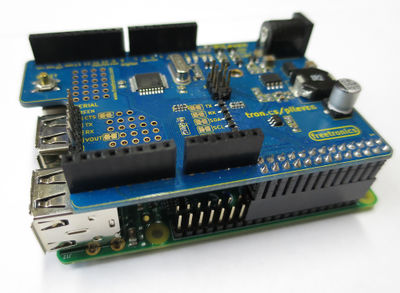
To solder the Arduino headers, it's easiest to use an Arduino-compatible board as a "jig". Start by mounting the Freetronics PiLeven on top of the Raspberry Pi, as shown:
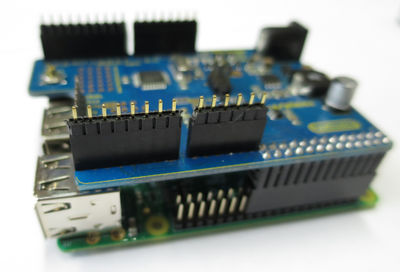
Then cut sections of the male pin headers to match each header on the PiLeven:
- 2x 8-pin headers
- 1x 10-pin header
- 1x 6-pin header
And place them into the PiLeven as shown:
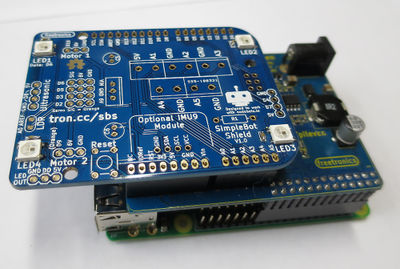
Mount the SimpleBot Shield on top of the headers:
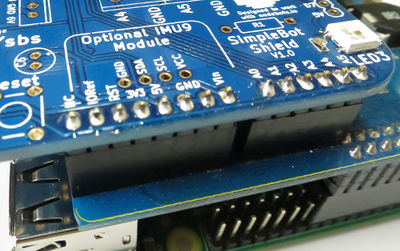
Then solder them in place:
After you've soldered the headers, remove the SimpleBot shield from the PiLeven.
Screw Terminals
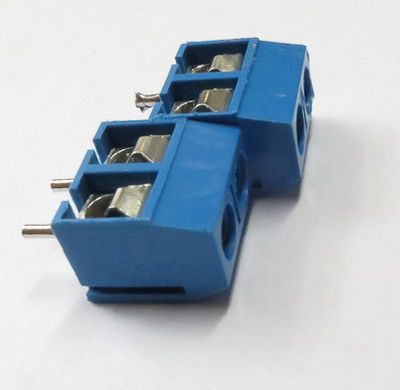
The next items to solder are the screw terminals. Each individual 2-pin screw terminal can slot together into a longer unit, like this:
The SimpleBot shield has one side with 6 pins (3 units), and one side with 4 pins (2 units).
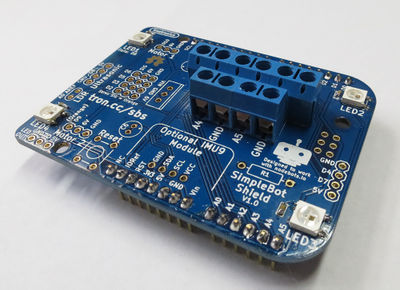
Slot the terminals together and place them on top of the shield:
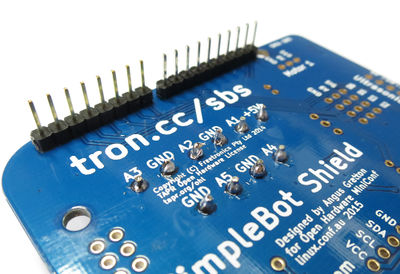
Then use some Blu-Tack to hold them down so you can flip the shield over and solder the pins on the bottom.
Regulator & Capacitors
Next step is to solder the 6V regulator and the electrolytic capacitors.
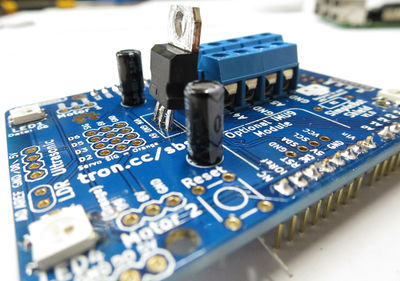
All of these components need to be oriented correctly. Place the regulator as shown. The electrolytic capacitors have a grey stripe on the side marked "-", which is the negative side. The circuit board has a small plus marked next to the pin for the positive side. Both the positive sides face towards the regulator, as shown, so the capacitors are mirrored.
You can bend the pins on the capacitors and the regulator to make them easier to solder, or use Blu-Tack.
After they are soldered you can cut the leads off:
LDR, Range Sensor Header, Servo Headers
Next step is the LDR (Light Dependent Resistor), the 4-pin female header for the Ultrasonic Range Sensor, and the two 3-pin male headers for the "Motors" (actually continuous rotation hobby servos, not actual motors).
For the 3 pin headers, cut them from the longer male header strips.
Place the parts into the PCB as shown. Orientation doesn't matter with these parts.
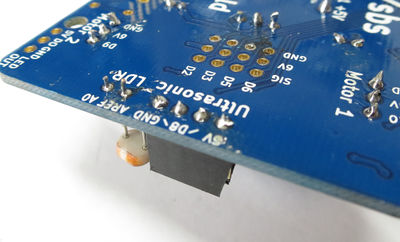
If you keep the LDR sitting up above the PCB surface, as shown, then you can bend it forwards 90 degrees to create a directional light sensor (recommended).
The LDR can be soldered from the top or the bottom, but the header needs to be soldered from the bottom. Use Blu-tack to hold items in place when flipping the board.
Reset Button & Resistor
The last step is to solder on the reset button, and the resistor that forms a [voltage divider] with the LDR in order to output a voltage proportional to the ambient light level.
The resistor and the reset button can be soldered from the top or the bottom, as you prefer. If soldering the reset button from the top, take care not to melt the plastic body of the button.
All Done
All done! As a final check, look over the shield for any solder bridges and also double-check the polarity of the regulator and the electrolytic capacitors matches what is shown:
Here's a photo showing how the SimpleBot shield mounts onto the PiLeven:
Next step, you can move on to SimpleBot Chassis Assembly.

